Hand quilting for beginners can be a little daunting… but I’m here to tell you that it’s surprisingly easy! And guess what? When you’re quilting by hand, you can unpick your stitches in minutes and it will be like that little hiccup never even happened.
So, don’t be intimidated, just give it a try. This is my complete guide for how to start quilting by hand.
What Quilting by Hand Entails
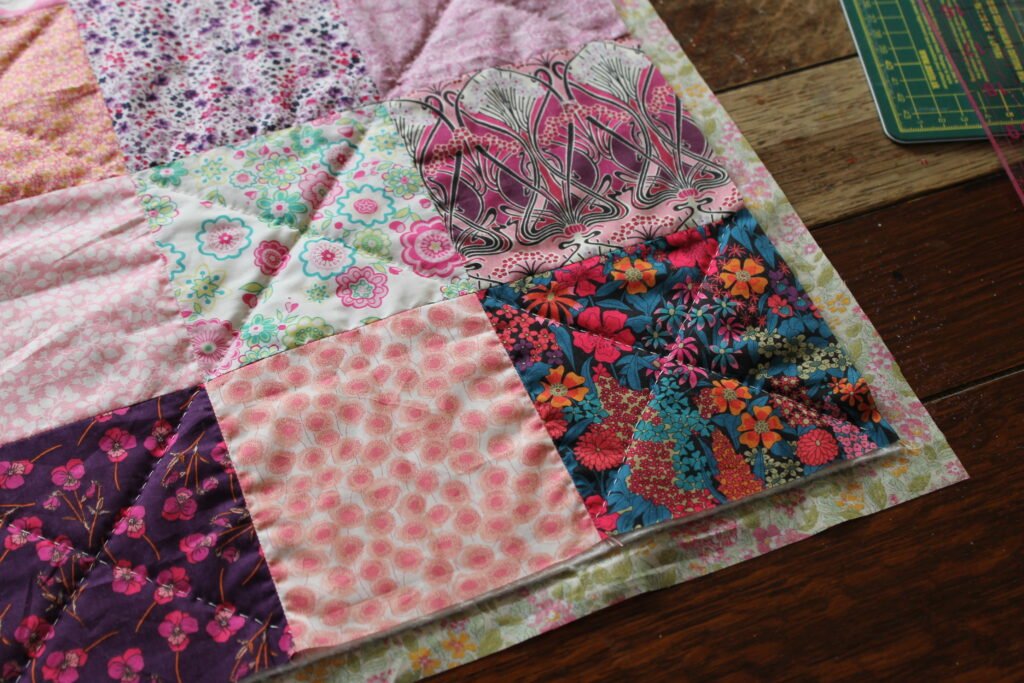
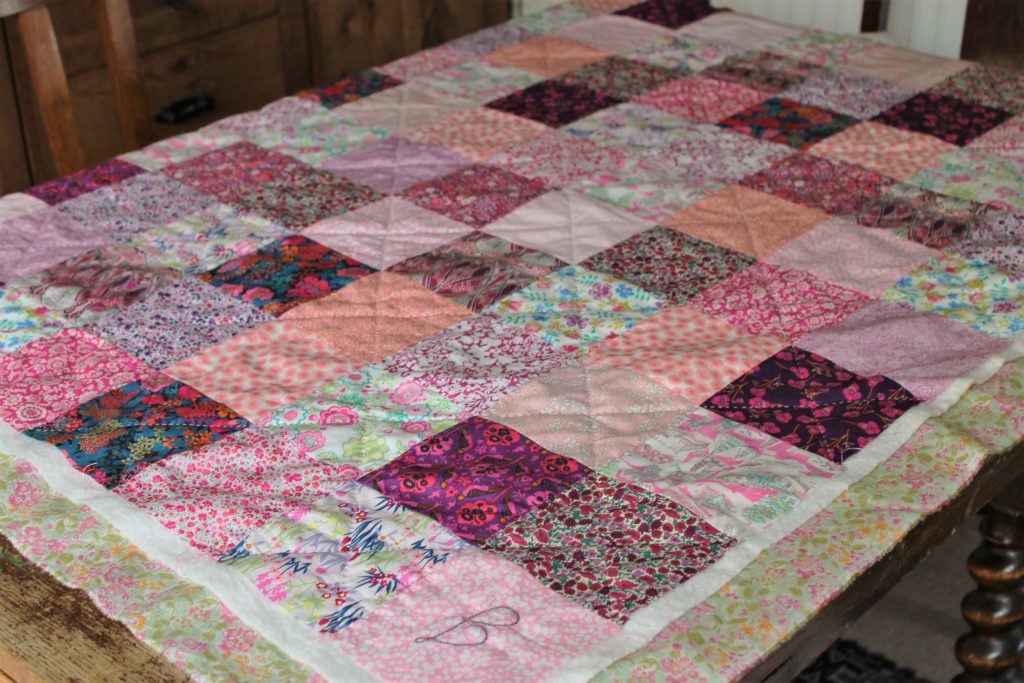
The action of quilting often refers to the last part of making a quilt. When you’ve got the back piece of fabric, the padding in the middle, and the lovely patchwork top all layered up, you are ready to start “quilting”.
By this definition, hand quilting is simply the act of sewing all three parts of the quilt together.
But quilting by hand can also refer to making the quilted, patchwork top of the quilt by hand. This is not as common but it is something that people do. I have actually begun a hexagon quilt by hand in this method. So, if this is the type of hand quilting you need help with, scroll down to ‘How to Make a Patchwork Quilt by Hand’.
Should You Try Hand Sewn Quilts?
I firmly believe that this is the best way to make a quilt. It has numerous benefits:
- It gives your quilt that loving, hand-made vibe,
- It’s really relaxing when you get into the rhythm of stitching,
- It gives you time to admire the quilt top as you stitch it together – this is especially important if you plan to sell your quilt.
But there are a few issues. If you lack patience, you’ll find it a drag. You’re also going to stab yourself with the needle at least 3 times. But for me, it’s totally worth it anyway.

How to Hand Quilt in 3 Steps
I’ve broken my process down into three steps. If you need a full guide for making a quilt, from the first stitch to the last, read my Beginners Guide to Quilting.
1. Create the Quilt Sandwich
You need to make sure that all your layers are aligned, and that everything is carefully pinned together.
Unlike with machine quilting, hand quilting is a slow process. So, if there is a small amount of bagginess in one layer, you can smooth it out as you go… but that’s not an excuse to be sloppy. Neatening your layers at this point will save you a lot of frustration as you hand quilt.
2. Plan Your Lines
Plan how you will quilt by hand. Straight lines are the easiest. You will also need to plan roughly how wide your stitches will be and how long they will be. The gaps between each line of stitching depends on the design of your quilt and also on the padding you use. Some paddings are naturally grippy (natural cotton especially) and will hold all 3 layers together – this allows you to leave a wider gap between each line of stitches.
As for your stitch length, pick something sensible. A large stitch can look quite cute and modern, but it will stand out more. Personally, I use a 5mm stitch length if it’s a small lap quilt, and a 1cm stitch length for anything larger than that.
Once you’ve worked out how you are doing your stitches, cut two long strips of masking tape. Stick these onto your quilt top on either side of the line you need to stitch down. Now you can hand stitch in a straight line without leaving any chalk or pen marks.
Do a test run first – just make sure that the masking tape you’ve got won’t tear up the fabric when you pull it off.
3. Hand Stitch Quilt!
Okay, so you’ve got your quilt all neatly pinned and your lines marked with masking tape. Next, you will need:
- A quilting needle – these are quite short but easy to grip and will go through all the layers of your quilt easily.
- Quilting thread – this is sturdy stuff that’s also slightly slippery, so it won’t tangle when you’re pulling it back and forth. Gutermann is my preferred brand for quilting threads.
- Stitching hoop (optional) – I don’t use one, but if you want to hold your quilt together easily when you’re watching the TV and stitching, they’re a good idea. I do mine at the dining room table instead.
My measurement for how much thread to cut is to use my arms. I hold the spool in one hand and the thread end in the other. The amount of thread I cut is the distance between my hands when I stretch my arms in opposite directions.
Next, do a quilters knot at the edge of the quilt (check out my favourite guide for quilting knots) and sew! You’ll want to make sure that the stitches are as even on the back of the quilt as they are on the front.
How to Make a Patchwork Quilt by Hand
When it comes to making the top of the quilt by hand, it’s pretty simple. Everything you would do for machine piecing, you replicate by hand.
The temptation here is to use a really strong thread, because generally hand stitches are weaker than machine stitches. But that would be a mistake. Too strong thread can actually rip the fabric. So, find a thread weight that matches the weight of the fabric.
If your quilt is multi-coloured, choose a neutral thread like black, white, grey or taupe. Otherwise, pick a colour thread that best matches your quilt colour scheme.
I do recommend that you use a sewing machine to stitch the binding around the edges, at least. This will cover all the ends of the threads to stop them unravelling and add a little extra strength to your quilt. Besides, the thick folded edges of a quilt are quite tricky to get a hand needle through anyway.
This video gives you a quick overview of how to make a quilt from hand, from beginning to end.
